Setting up multiple Groups in the TDA will be more beneficial for those with a large number of people who are taking the assessment. If you are doing this with just one class or Bible study, then there is no reason to worry with it.
Access to set up the main group and any subgroups for this passcode is limited to those who are registered as the Primary Group Leader or Lead Pastor.
Setting up the Main Group
- Main Group for most TDA users is going to be the name of their church. This is the umbrella group for all other subgroups that will be created.
- Other possibilities include:
- When a district or state convention buys a passcode for an event or staff members, the Main Group would then need to be the name of that organization or the name of the event.
- If a single campus or ministry of a church purchases a passcode and does not expect the the church as a whole to participate, then the Main Group would be “Downtown Campus” or “Missions Ministry.”
- When a professor uses TDA as a part of a class, we suggest making the name of the Main Group that specific class or semester. (If the professor would like to have all students for all semesters on the same account, the Main Groupshould be named as the class with subgroups named after specific years or semesters. (Additional uses can be added to the original passcode as needed, but because everyone uses the same passcode over time, the risk of unintended uses by others.)
- Other possibilities include:
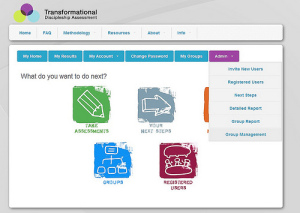
- Log in to your TDA account and from the Main Page, go to the Admin button and select Group Management from the drop down menu.
- Once you are there, if no groups have been created yet, there should only be one option, so click Create a Group.
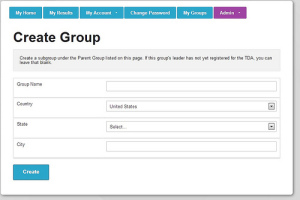
- On the Create Group page, enter the information you want associated with the Main Group: Group name, Country, State, City. Then click
Create.
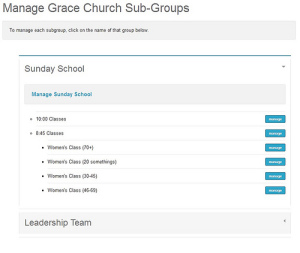
- Next you’ll be taken to Manage <Main Group Name> Subgroups page.
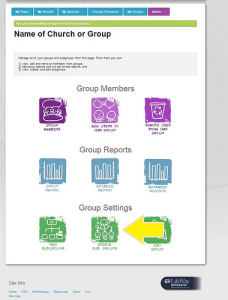
If you are going to have a lot of these (more than 4), we recommend making sure you have thought through the best possible structure. This will save you a LOT of time later. - If you log back in at another time, you can go to the Group Management page and select Create Subgroups when you are ready.
If you have a lot of them, go ahead and make yourself a pot of coffee and pick up some snacks.
- As you create each new subgroup, we recommend leaving the Group Management page open and then right clicking on the Create subgroups link. This will save you some steps later so you don’t have to go all the way back to the Admin button.
- When you are naming subgroups, be sure to select the names that are most familiar to the members of your group so they will recognize them when they register.
- As you create the subgroups, you can check to make sure you are organizing them correctly by clicking on the View Subgroups icon on the Group Management page.
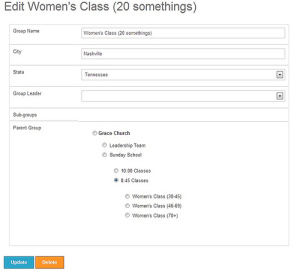
- If you need to make a change to any group that you have already created, simply click the blue manage button and then select edit group
This will allow you to make changes to the group name, city, state, group leader, and which parent group it falls under. (This feature comes in handy if you accidentally create a subgroup under the wrong section. You don’t have to start from scratch, you can just move it around.)

