Purchasing and Registration Tips for Groups

Purchasing the Discipleship Pathway Assessment

  • Go to the assessment product page on LifeWay.com
  • Update the quantity of uses needed and click Add to Cart
  • Proceed with the checkout process on LifeWay.com
  • On the order summary screen, click Activate Membership
  • On the next screen, click Create a new passcode
  • The next screen will display the passcode for your group (write this down and save it)

Registering for the Discipleship Pathway Assessment

  • Go to lifeway.com
  • Under the User Registration heading, please enter your passcode and click SUBMIT
  • Register an email address and create a password, which will be used to log in going forward
  • If registering as a group administrator, choose “Primary Group Leader” or “Lead Pastor” as your role
  • To begin the survey, click the green “start here” box on the My Assessment screen

After five surveys are completed, group reports can be generated. From the Admin drop down, choose “Group Report” or “Detailed Report” to access your group results.

Want more detail? You can track results for specific groups of people by Creating Groups and Sub-groups.

Next Steps are automatically provided for all participants. Groups have the option to Customize Next Steps for Your Group allowing you to provide specific help to individuals on what to do after completing the assessment.

Promoting the assessment to your group

We recommend inviting your whole group to complete the assessment. That shows you value their involvement and gives you a more accurate picture of your group than if you hand-select people to participate.

Invite participants through your most effective means of communication. You know what works for your group. This can be a bulletin insert, an email blast, a social media post, or a personal appeal etc. And it probably needs to use multiple methods. Be sure to include your group’s passcode and the registration steps in your communication.

Make it an emphasis. We recommend a two-week communication blitz. This allows for three Sundays to launch, be half-way, and to give a last chance to participate.

Drive toward something. If you plan a time to go over group results in some form, that is an added incentive to participate and be a part of what is coming up. This could be a discussion time, a presentation of highlights from the findings, or in an upcoming teaching series or emphasis.

Customizing “Next Steps” for your group or church

Knowing where you are is the first step toward taking proactive steps in your discipleship.

Access to this feature is limited to those who are registered as Primary Group Leader or Lead Pastor as one of their roles.

The Next Steps feature in the Discipleship Pathway Assessment is a way for you to provide specific help to individuals using your passcode on what to “do next” after completing the assessment. This is optional and most groups don’t see a need to use this feature. It is a helpful resource if your group has planned specific classes, events, or content that you want to point your group to.

When developing Next Steps try to keep in mind very basic, simple, and realistic things people can do that will not only help them grow in a specific area but will also encourage them. Making these too detailed or cumbersome may have an unintended consequence of discouragement and a sense of defeat. Once you have the text of your Next Steps prepared, you are ready to enter them into the Discipleship Pathway Assessment tool.

We recommend creating and saving them in a document on your computer, so that all you have to do is cut and paste once you are in the Discipleship Pathway Assessment tool.

  1. Log into your Discipleship Pathway Assessment account
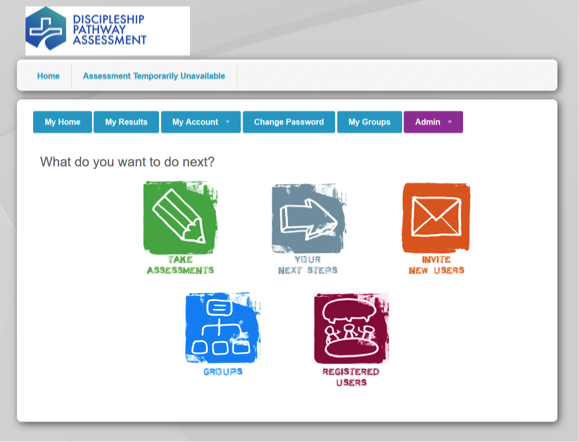
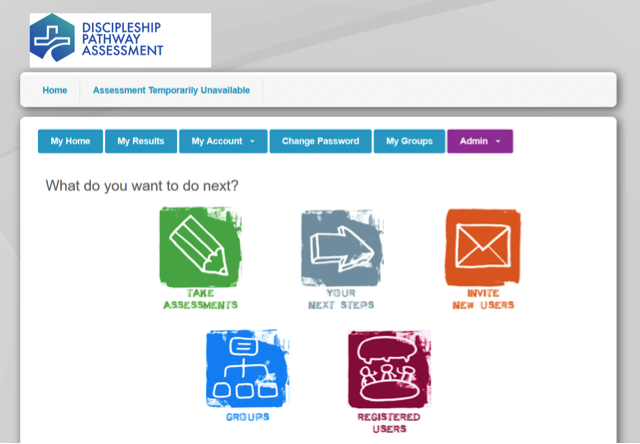
  2. On the Home Page, click on the YOUR NEXT STEPS icon.

  1. On the Your Organization’s Next Steps page, you can begin to add customized content for each of the eight DPA signposts.

  1. To begin, click the  Create New Next Step button.

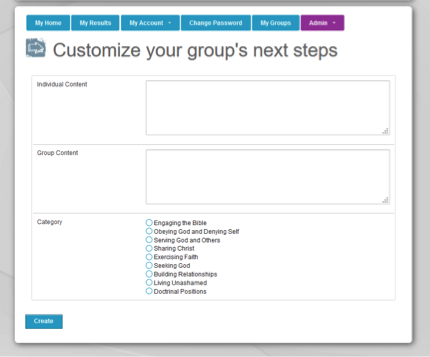
  1. Select which Category you would like to begin with, and then add content to the Individual Content text box (shown in individual reports) and the Group Content text box (shown in your group reports). It will not save if you have not done each of these steps: Select Category, add Individual Content, add Group Content.
  2. Click Create button.
  3. Continue with each of the other attributes.

Creating Groups and Subgroups

Creating Groups and Subgroups

Setting up multiple Groups in the Discipleship Pathway Assessment will be more beneficial for those with a large number of people who are taking the assessment. If you are doing this with just one class or Bible study, then there is no reason to use this.

Access to set up groups for this passcode is limited to those who are registered as the Primary Group Leader or Lead Pastor.

Setting up the Main Group

  • Main Group for most assessment users is going to be the name of their church. This is the umbrella group for all other subgroups that will be created.
  • However, if the group you purchased the passcode for is staff members of a ministry, a campus of a church, or a seminary class then Main Group is the name you give this group.
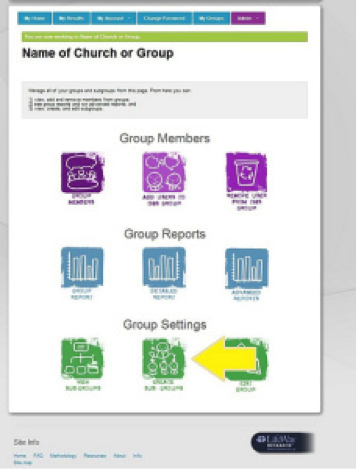
  • Log in to your Discipleship Pathway Assessment account and from the Home Page, select the GROUPS icon (also Groups Management is found under Admin pull-down).

  • Once you are there, if no groups have been created yet, there should only be one option, so click the  Create a Group button.
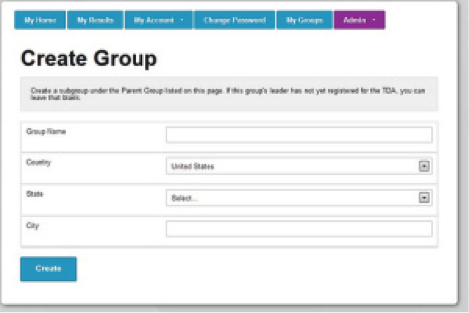
  • On the Create Group page, enter the information you want associated with the Main Group: Group name, Country, State, City. Then click
    Create.

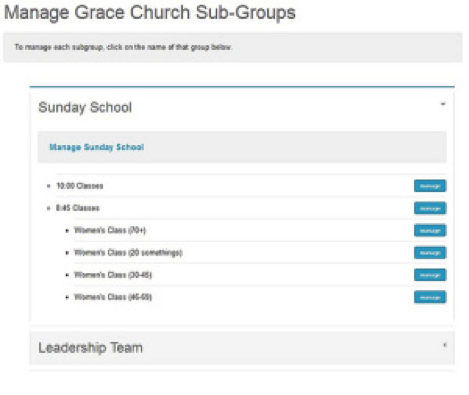
  • Next, you’ll be taken to Manage <Main Group Name> Subgroups page.
    If you are going to have a lot of these (more than 4), we recommend making sure you have thought through the best possible structure. This will save you a LOT of time later.
  • If you log back in at another time, you can go to the Group Management page and select Create Subgroups when you are ready.

  • As you create each new subgroup, we recommend leaving the Group Management page open and then right clicking on the Create subgroups link and selecting Open link in new tab. This will save you some steps later so you don’t have to go all the way back to the Admin button.
  • When you are naming subgroups, be sure to select the names that are most familiar to the members of your group so they will recognize them when they register.
  • As you create the subgroups, you can check to make sure you are organizing them correctly by clicking on the View Subgroups icon on the Group Management page.

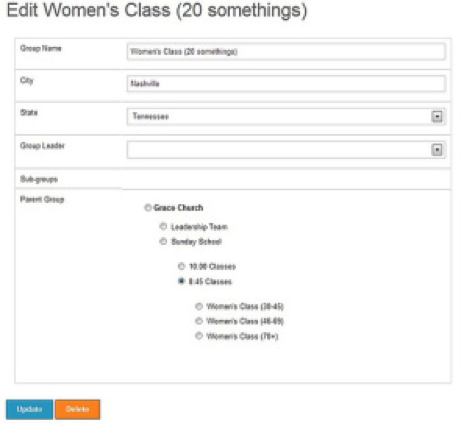
  • If you need to make a change to any group that you have already created, simply click the blue manage text and then select edit group
    This will allow you to make changes to the group name, city, state, group leader, and which parent group it falls under. (This feature comes in handy if you accidentally create a subgroup under the wrong section. You don’t have to start from scratch, you can just move it around.)